How to Flatten Kids’ Artwork for Photographing
Your child’s artwork can take a beating on its journey from the classroom — a lovingly crafted masterpiece often emerges from their backpack with stains, rips, wrinkles, and folds. Your child’s artwork will photograph the best when laid flat on a clean surface. Here are our favorite techniques for getting your kiddos art as flat as possible.
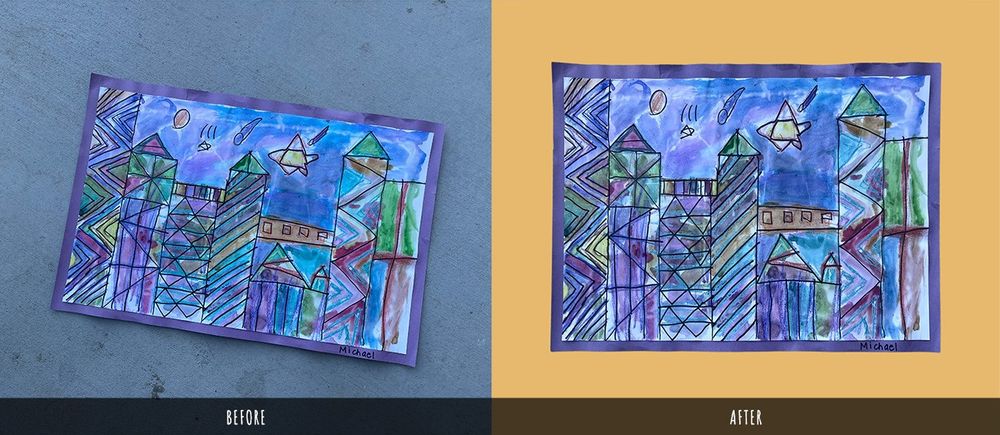
Scribble is powered by advanced machine learning and computer vision algorithms that clean up casual smartphone photos by removing backgrounds, straightening perspectives, fixing rotation, analyzing colors, and so much more. The combination of these techniques makes it easy for parents to simply upload photos from our smartphones and let Scribble magically build a book in real-time.
Give it a shot and build your book here. It's easy to get started and you get a free online book you can share!
Something Heavy
If you have the time, placing their two-dimensional work under a large book or magazine will help smooth the wrinkles overnight. If their painting came rolled up, you can roll it up the opposite direction to counteract the curl.
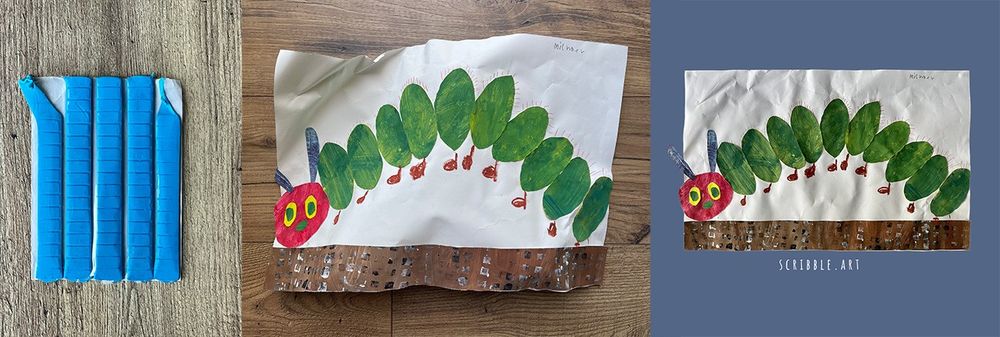
Cricut Adhesive Mats
Cricut adhesive mats are a great option for temporarily flattening kids’ artwork because they're both quick and non-destructive. If you have a Cricut cutting machine, you most likely have their standard grip mat. I prefer the Light Grip Adhesive Cutting Mat for most pieces because it separates easier from the artwork and provides enough grip to tame your average backpack-wrinkled artifact. If you’re working with larger pieces, you can place multiple mats together or use their larger 12” x 24” mat.
If you’re mounting for an upload to Scribble, make sure that you don’t mount the artwork right up to the edges. Frame your shot so that you don’t include the edges of the mat otherwise it will think the mat is part of the artwork.

Blu-Tack
Blu-Tack is a reusable moderately sticky adhesive putty that can easily tame wrinkles and folds. This is another one of my favorite methods and can usually be found stored in the same drawer as my kids’ artwork. There are quite a few variations made by other companies, such as Loctite’s Fun-Tak (pictured below and is actually blue).
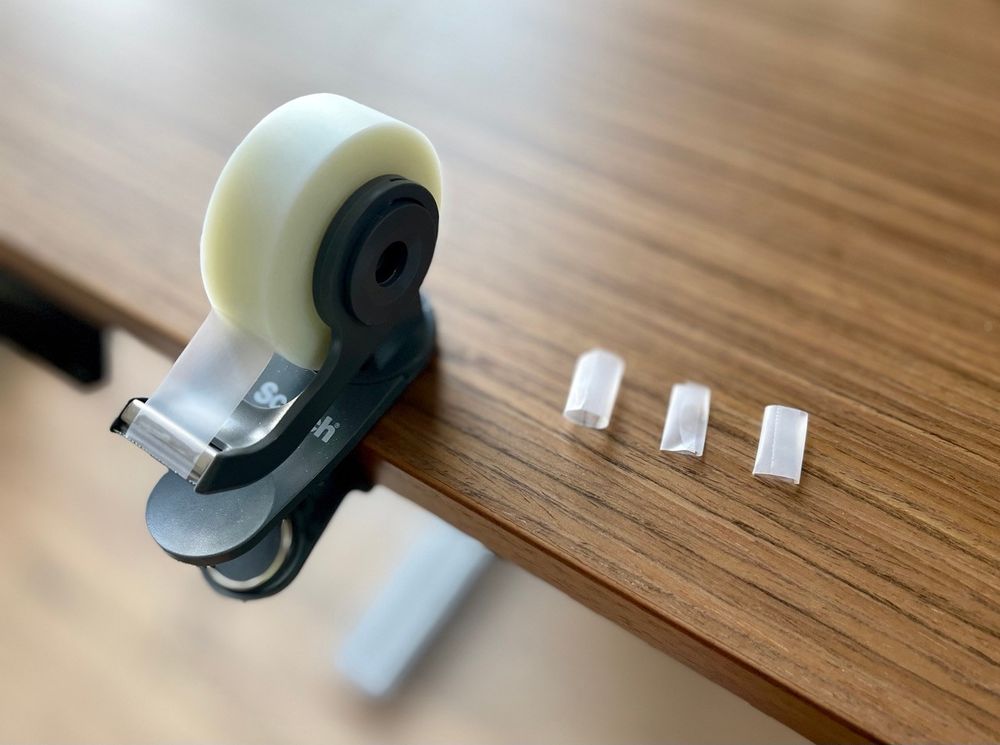
Tape
You can use double-sided tape or make your own double-sided tape loop to apply on the back of the artwork. Pro-tip: pick up some lint from your shirt to reduce the stickiness and avoid tearing the artwork when removing it.
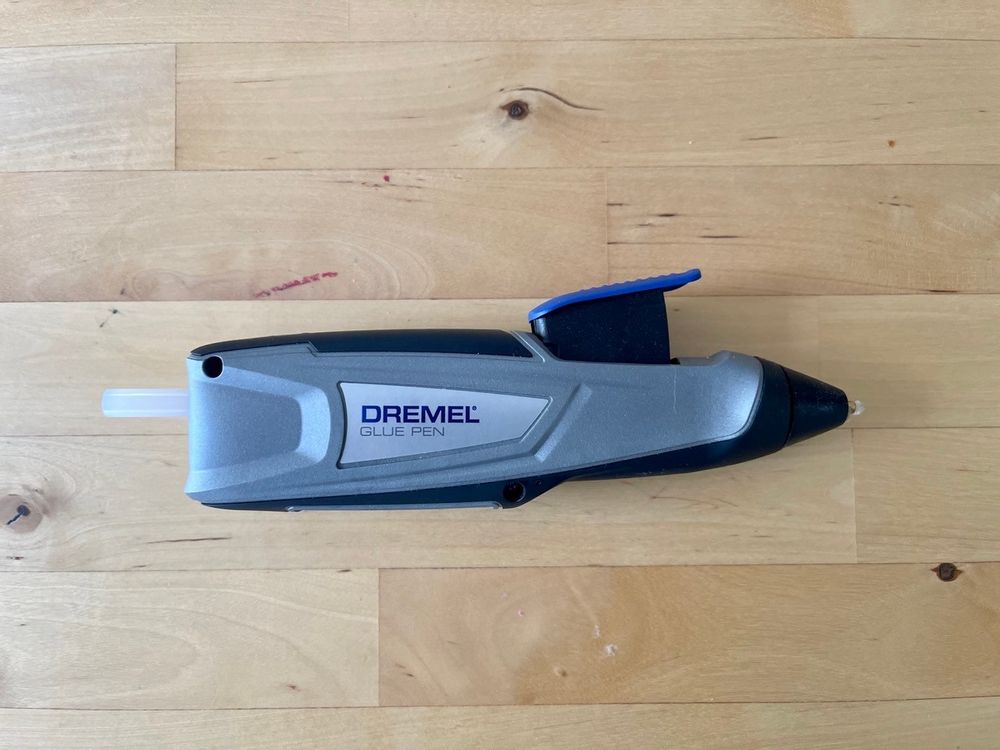
Hot Glue Gun
A hot glue gun is a convenient way to tack down the edges of your child’s artwork. Modern hot glue guns heat up fast, drip less, and can be cordless. This method is more effective on larger pieces made of more robust materials like cardboard. Just apply a couple dots on the corners and anywhere else that needs to be tacked down.
My personal favorite is Dremel’s USB rechargeable hot glue pen. It heats up in 15 seconds and is USB rechargeable.
Foam Core and Spray Tack
You can use the combination of a foam core board and spray tack as an alternative to a plastic adhesive mat. Spray tack is a repositionable adhesive spray that allows you to temporarily “tack” down your piece while photographing. This method has some advantages over using the Cricut adhesive mat including:
- Accommodating larger artwork. Foam core boards come in various sizes (16” x 20”, 20” x 30”, etc) and can be cut to preferred sizing.
- Different colors so that your artwork contrasts the background when using Scribble to automatically remove backgrounds from your photograph.
- Different materials: You can use poster board, corrugated plastic sheets, or any other large boards you might have lying around.
Some tips for using this method:
- You don’t have to apply the spray tack every time you photograph a new piece – but does need to be reapplied periodically when it starts to lose its tackiness.
- Apply the spray tack in a well ventilated area.
- Place a sheet of kitchen plastic wrap over it when you’re storing it to prevent dust from sticking to it.
Color Outside the Lines
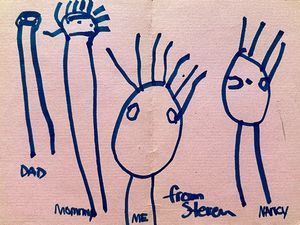
Your child's work is a beautiful mess! While it feels counterintuitive, there is a story behind every creation. Each imperfect squiggle, tear, or crease tells a story of how and what your child was creatively thinking at the time. We strive to offer a supportive and judgment-free environment for our young artists to be creative – we should also embrace this for ourselves when “translating” their works for print in an art book.
Don’t stress about getting it perfectly flat or obsess about trying to obtain that perfect photo. If you’re using Scribble to build your art books, our software will do all of the heavy lifting – you can sit back and watch Scribble remove backgrounds, crop and rotate your photos, get that perfect overhead angle, suggest complementary background colors, and enhance photos for every page of your book.
Empowering Young Artists
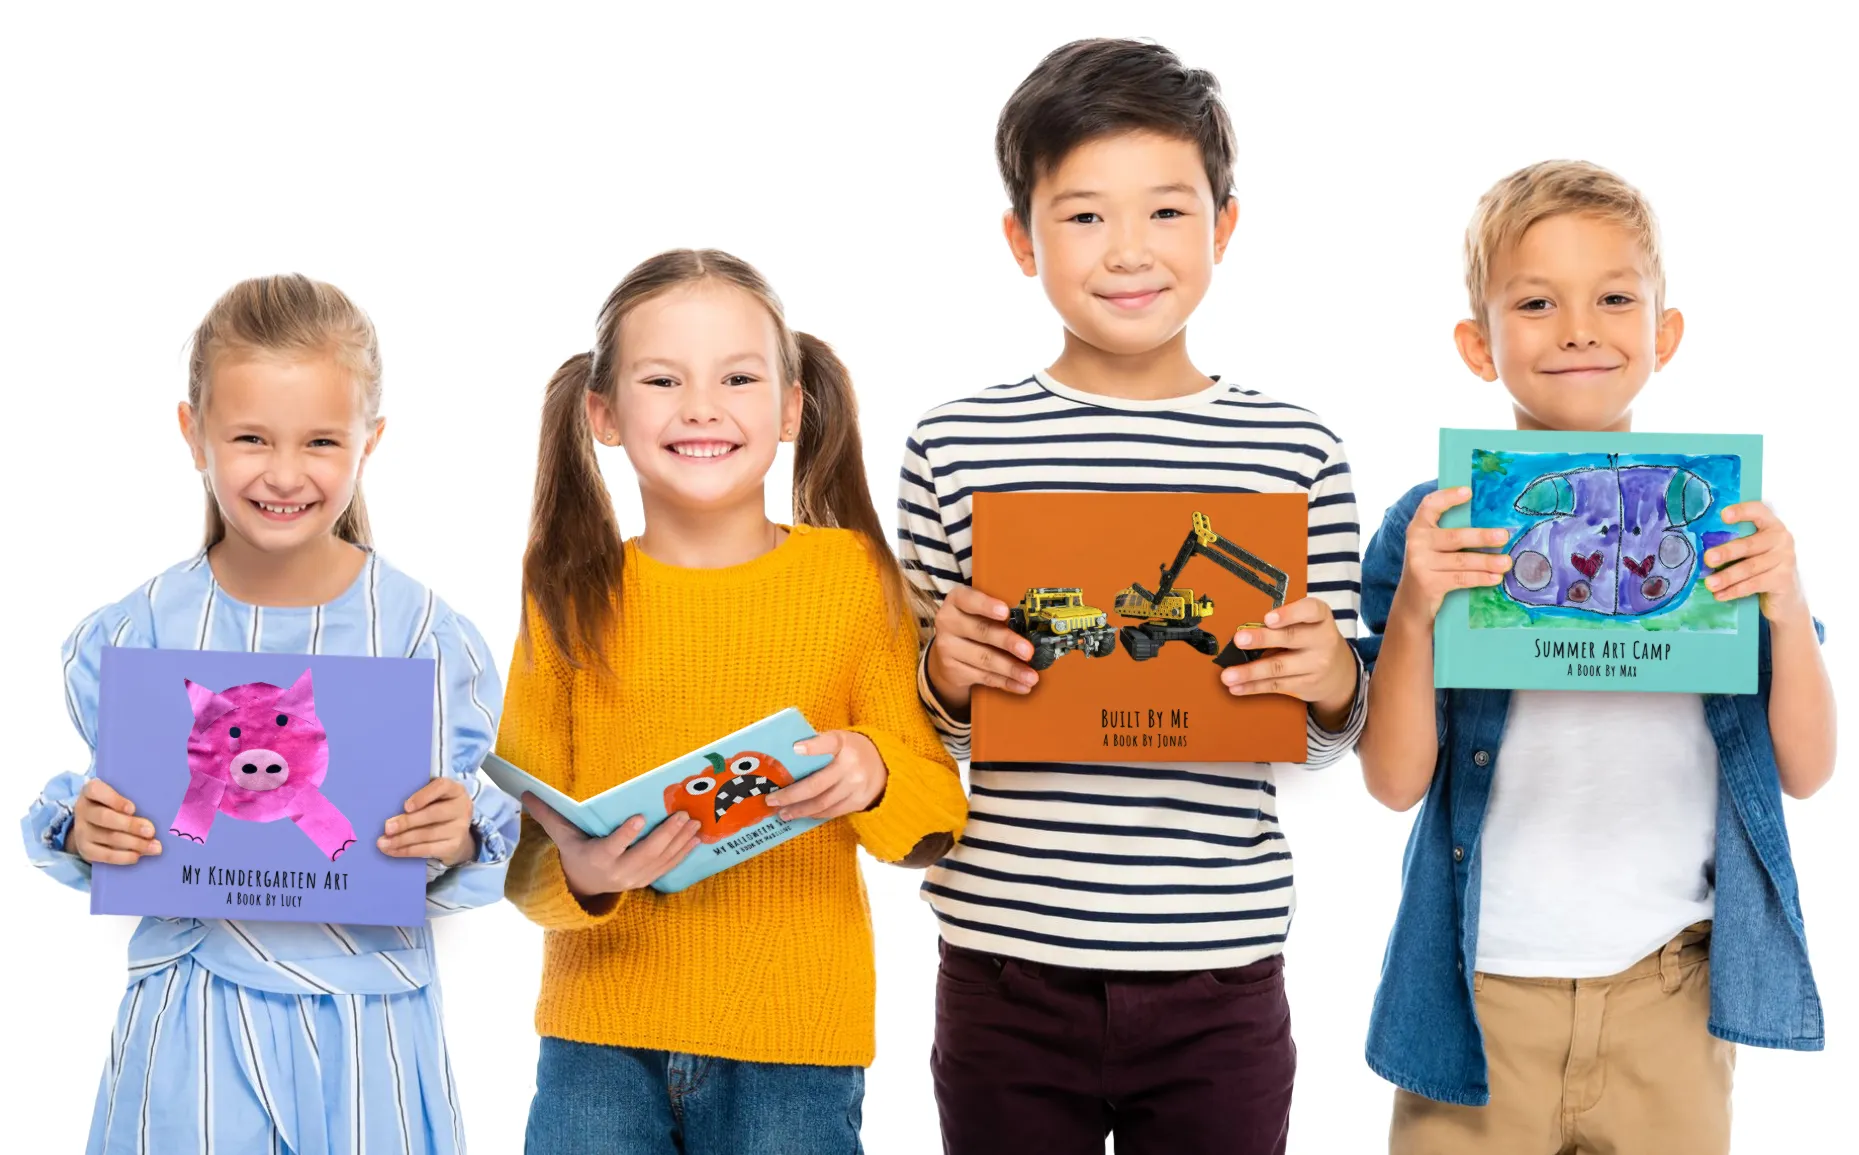
Scribble is dedicated to nurturing the creative spirit in every child. By offering an effortless way to preserve and showcase your child's creativity, Scribble encourages young artists to explore their imaginations and express themselves through art. Support your child's creative journey and let their imagination shine. Don't let these precious moments slip by—capture a vibrant snapshot of your child's creative journey with Scribble. Ready to build their book?
Start Their Scribble Book